LandingZ - Multipurpose HTML Landing Template
Documentation version 1.0.0
Introduction
- Item Name : LandingZ - Multipurpose HTML Landing Template
- Item Version : v 1.0.0
- Author : Codeboxr
- Support : Contact Us
Thank you for purchasing our Template. If you have any questions that are beyond the scope of this help file, please feel free to email via our contact form Here. Thanks so much!
Download Now Visit Our Product PageOverview #back to top
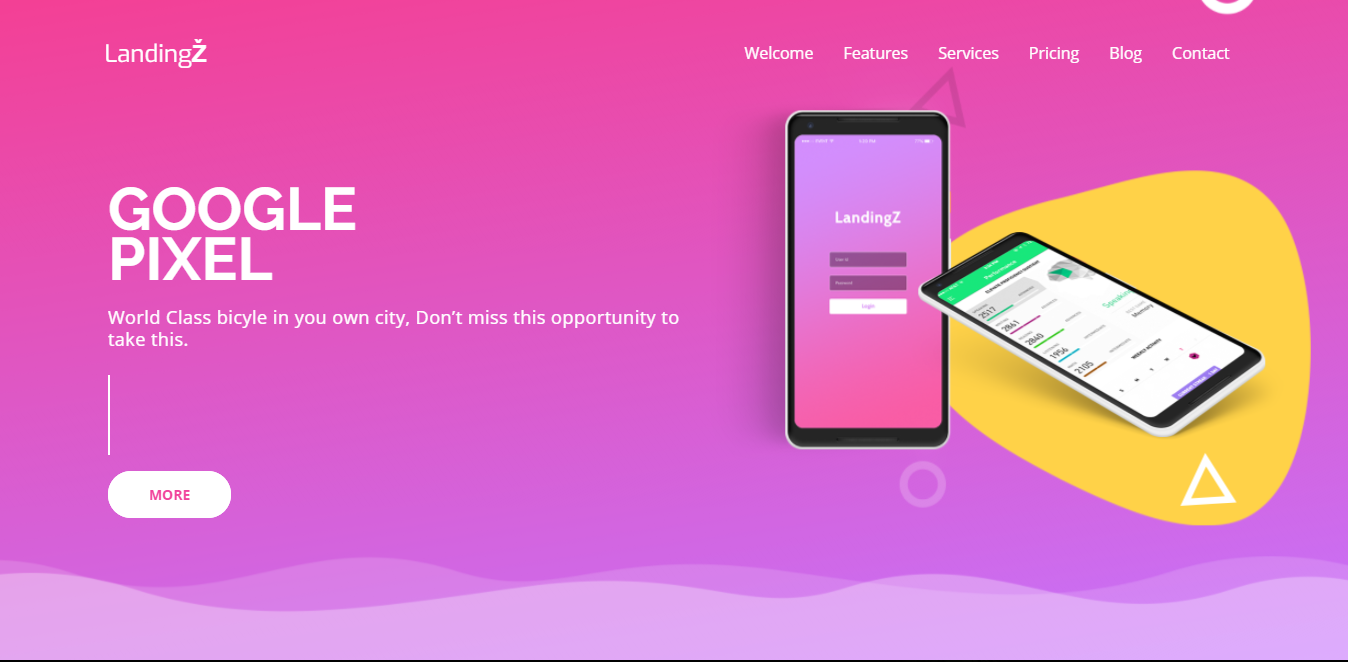
LandingZ - Multipurpose HTML Landing Template is an awesome HTML template built with modern technologies like HTML5, CSS3, jQuery, Bootstrap3.x, Font Awesome 4.x, LESS, Gulp, and more which is specially designed for any kind of promotion . To easily modify all those pages according to your need, this documentation is going to help you. The theme contains 7 html template files:
 Home Layout 1 - (index.html)
 Home Layout 2 - (index-2.html)
 Blog Layout - (blog.html)
 Blog Layout 2 - (blog-2.html)
 Blog Single Layout - (single-blog.html)
 Blog Single Layout 2 - (single-blog-2.html)
 Blog Single Layout 3 - (single-blog-3.html)
It is accepted that before you start modifying the HTML for your need at least you have basic knowledge in html and twitter Bootstrap3. If you need custom development as well as need to know any thing specific for this Template that doesn't cover in this documentation, you are always welcome to contact us.
General #back to top
The whole theme contains html, css, less,
js, php and image files.Files and Folder Structure of
theme folder:

To start customizing the theme need to do little setup. See there is a package.json
file in the theme root folder. Open command promt in the theme root folder. Please
note that, you need to do this if you want to compile less to css and compile js and
minify as per our theme setup or how provided.
Make sure you opened the command prompt to current theme root directory. Now type:
npm install. It will install necessary node modules. If you don't have
node.js installed then download and install for
your os version.
After all node modules are installed successfully type gulp in command
prompt and see it will compile all less files from assets/less dir and
put
single css file(s) in assets/css dir. Same time from dir assets/js
theme.js will be minified and new file theme.min.js will
be
created/updated
Header #back to top

The codes for the Header lies within lines61 - 87 in every file.The header section contains the logo and the navigation menu, to modify the
contents, simply edit the text for logo and lists items for navigation
menu.
Statistics #back to top

Statistics Section is included in Home Page (index.html). To modify the content of Statistics Section : you would change the following: (Line No: Near 363 to 419 ) codes in index.html.

                                1200+
                                Downloads


                                1200+
                                Downloads


                                1200+
                                Downloads


                                1200+
                                Downloads
Statistics Section's required js code is included in assets/js/(theme.js). To modify the content of Statistics Section's required js code : you would change the following: (Line No: Near 38 to 41 ) codes in theme.js.
$('.statcounter').counterUp({
    delay: 50,
    time: 1000
});
Testimonial #back to top
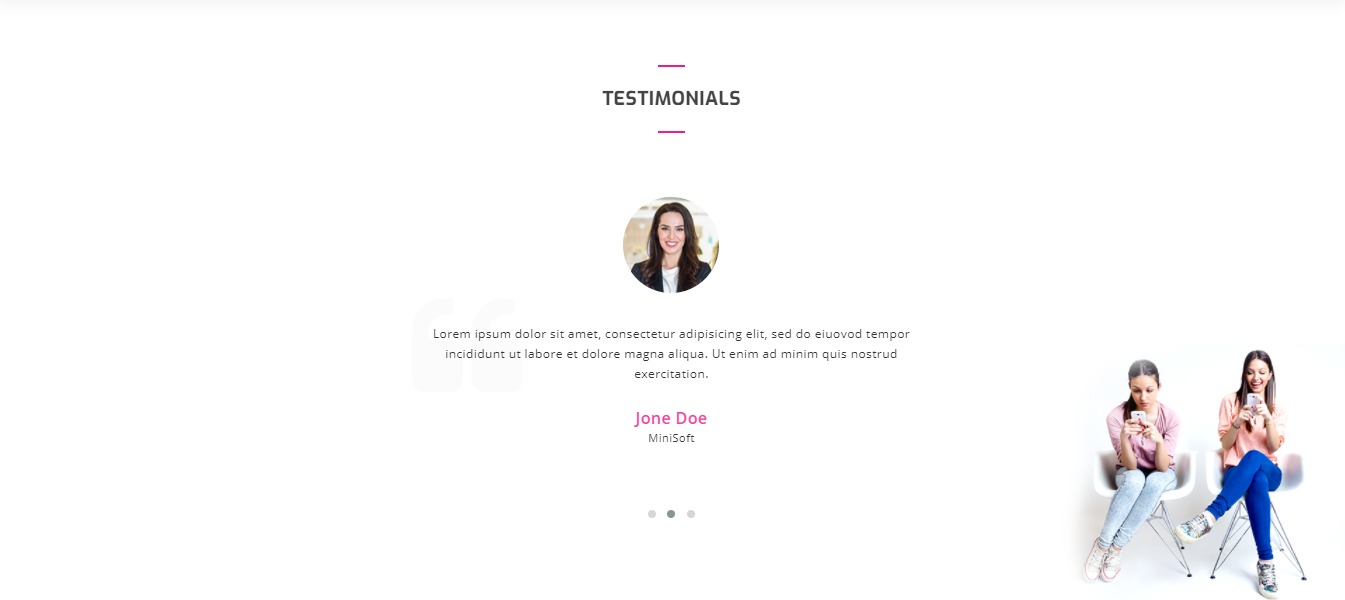
Testimonial Section is included in Each Home Page. To modify the content of Testimonial Section : you would change the following: (Line No: Near 700 to 770 ) codes.
                                Testimonials


                                            Lorem ipsum dolor sit amet, consectetur adipisicing elit, sed do eiuovod tempor incididunt ut labore et dolore magna aliqua. Ut enim ad minim quis nostrud exercitation.


                                            Adam Smith
                                            BigSoft


                                            Lorem ipsum dolor sit amet, consectetur adipisicing elit, sed do eiuovod tempor incididunt ut labore et dolore magna aliqua. Ut enim ad minim quis nostrud exercitation.


                                            Jone Doe
                                            MiniSoft


                                            Lorem ipsum dolor sit amet, consectetur adipisicing elit, sed do eiuovod tempor incididunt ut labore et dolore magna aliqua. Ut enim ad minim quis nostrud exercitation.


                                            Nicole Morrison
                                            MediumSoft
Testimonial Section's required js code is included in assets/js/(theme.js). To modify the content of Statistics Section's required js code : you would change the following: (Line No: Near 167 to 172 ) codes in theme.js.
$("#testimonial").owlCarousel({
        loop:true,
        items : 1,
        autoplay:true,
        autoplayTimeout:3000
    });
Screenshots #back to top

The total codes of screenshot are within (Line No: Near 204 to 251 ). To edit the screenshot part, change these codes:
Screenshots


Screenshot Section's required js code is included in assets/js/(theme.js). To modify the content of Statistics Section's required js code : you would change the following: (Line No: Near 8 to 35 ) codes in theme.js.
$("#screenshot").owlCarousel({
        nav: false,
        loop:true,
        items : 5,
        center:true,
        dots: false,
        margin: 20,
        autoplay:false,
        navText : ["",""],
        responsive: {
            0:{
                items:1,
            },
            800:{
                items:3,
                margin:30
            },
            1000:
                {
                    items:3,
                    margin:140
                },
            1200:{
                items:5,
                margin:10
            }
        }
    });
Contact #back to top
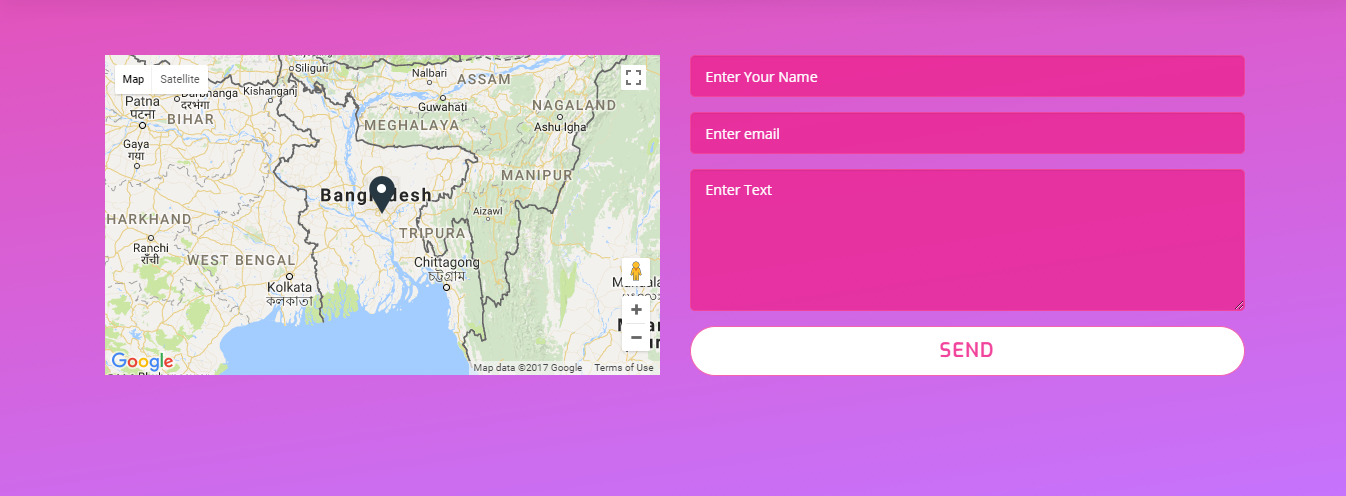
The total codes of contact us are within (Line No: Near 773 to 845 ). It is devided into tow parts, (i)map and (ii)contact form. To edit the map part, change these codes:
Get In Touch
Donec et viverra ipsum. Quisque vulputate ac ante ut laoreet. Feugiat eleifend, arcu orci fermentum molestie varius dolor.
Twitter, Inc.
795 Folsom Ave, Suite 600
San Francisco, CA 94107.Phone:+2545-8546-XXX,
+2545-8546-XXXEmail:jhon.doe@example.com,
jhon.doe@example2.com
Make sure that your map element ( .cbxmapcanvas ) has a height defined,
otherwise it will not be visible:
                                    .map_canvas {
                                    	min-height: 400px;
                                    }
Here is the code portion for the contact form:
Get in Touch
JobZ
Address: Apartment 6H, Twin Tower, 77 Hallmark Road, District 1205, Country
To configure email options then open contact.php file which you find from php directory from Template root Template root/php/contact.php. There we try to describe everything by comments. The code is well documentation where to put what. The configuration starts from line 30 and ends to line 52 Email smtp or such configure is from line 161-168 and 218-226 Default Email & Other configuration:
                                        //csv
                                        $save_in_csv = false; // make it true if you want to save in a csv file, the csv file name should be contacts.csv and must be located in same dir of this file


                                        //mailchimp
                                        $save_in_mailchimp = false; //true = save in mailchimp, false =  ignore //if true, then list id and key needs to be set
                                        $api_key           = null; //mailchimp api key
                                        $list_id           = null; //set mailchimp list id api
                                        $status            = 'pending'; //pending = user will get email to confirm his subscription, subscribed = force subscribe the email


                                        //general email configuration
                                        $send_email            = true; //false = doesn't send email, actually sending email is basic practice fo contact form.

                                        $admin_email_to        = 'admin@yourdomain.com'; // admin email who will get the contact email alert
                                        $admin_email_to_name   = "Company Name"; // Admin Name/Company name who will get the email alert
                                        $admin_email_from      = 'noreply@yourdomain.com';  // admin email from which email address email will be sent
                                        $admin_email_from_name = 'System'; //admin name from which email will be sent
                                        $admin_send_subject    = 'Contact form alert'; //email subject what the admin will get as contact email alert
                                        $user_send_subject     = 'Thanks for contact, your copy'; //email subject what the user will get if the user agreed or select "copy me"

                                        $site_name			   = 'Example Site Name'; //change this as need
                                        $header_image		   = ''; //header image
                                        $footer_text		   = 'Copyright @example.com'; //change this as need
Version History (Changelog) #back to top
Changelog
                                        -----------------------------------------------------------------------------------------
                                        Version 2.0 - 26.11.2017
                                        -----------------------------------------------------------------------------------------

                                        - Initial Release